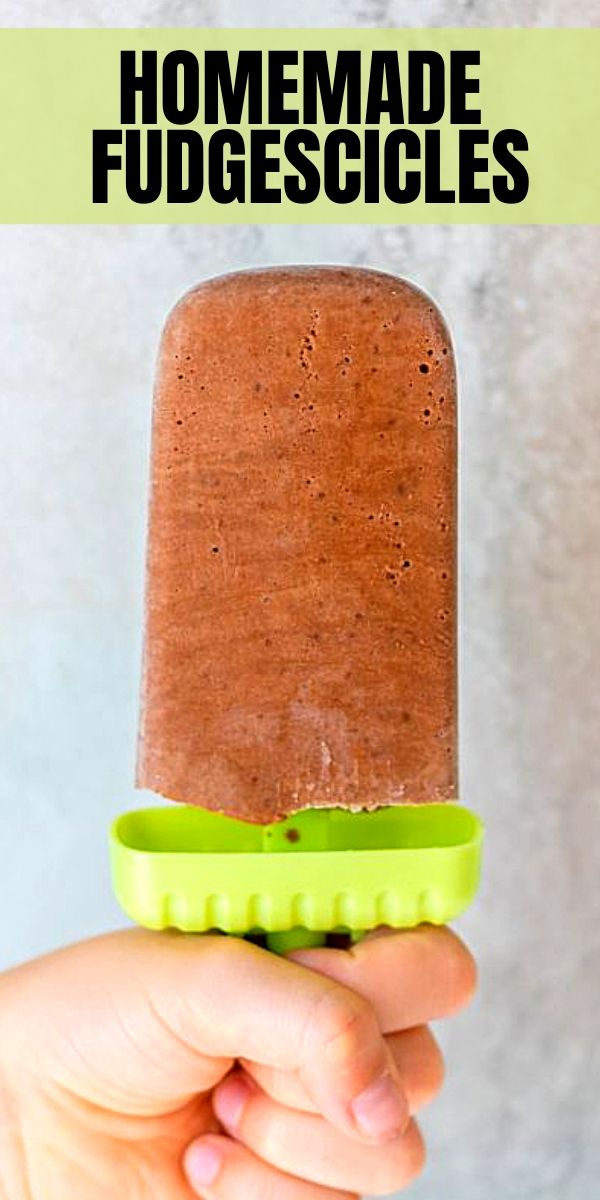
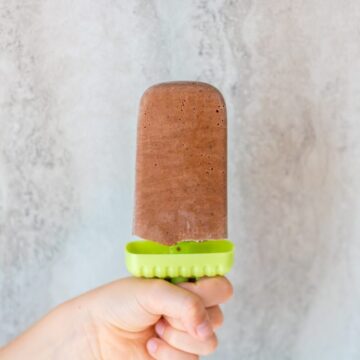
Rich, creamy, and full of chocolate, Homemade Fudgesicles are incredibly simple to make and way better tasting than ANY store-bought version!

There is nothing better than cooling down on a hot day with a creamy, chocolatey Fudgesicle, AKA Fudge Pop.
Made with a rich homemade chocolate pudding and light and fluffy whipped topping, these Homemade Fudgesicles are absolutely delicious, and in my opinion better than the store-bought version. MUCH BETTER!
By making Fudge Pops at home, not only do you save a few pennies, but you get to control the quality of ingredients. And you use good-quality ingredients, the taste is ALWAYS better! Not to mention, you can easily make modifications to deal with food allergies or sensitivities.
These Homemade Fudgesicles truly are a delicious treat that both the big and little kids are sure to enjoy! And they are actually quite easy to prepare.
Notes on Ingredients

- Milk: I recommend using whole milk or unsweetened, canned coconut milk for the richest, most decadent Fudge pop. However, you can use any variety of milk or non-dairy milk you like.
- Cornstarch: Cornstarch is used to thicken the pudding, but can be replaced with arrowroot or tapioca starch.
- Sugar: Use coconut sugar, raw sugar, or granulated sugar.
- Chocolate Chips: Be sure to use dairy-free chocolate chips if you are dairy-free—otherwise, any variety of chocolate chips works.
- Whipped Topping: Coolwhip, SoDelicious Cocowhip, or Truwhip are all great options for this recipe. You can also use the stabilized version of homemade whipped cream for a truly from-scratch treat.
Dietary Modifications
This simple recipe for Fudgesicles creates a delicious, decadent dessert that can also easily be made allergy-friendly by following the following modifications to the ingredients.
- Dairy-Free Fudgesicles: Use non-dairy milk, dairy-free chocolate chips, and SoDelicious Cocowhip for a creamy, dreamy, dairy-free Fudge Pop.
- Vegan Fudgescicles: For a vegan-friendly recipe, use non-dairy milk, dairy-free chocolate chips, coconut sugar, and SoDelicious Cocowhip.
- Corn-Free Fudgesicles: Replace the cornstarch with arrowroot powder to make the chocolate pudding base. For the whipped topping, do not use Cool Whip, as it contains corn products.
- Nut-Free Fudgesicles: Use regular milk or canned coconut milk and Truwhip. I would also be sure to check labels for cross-contamination.
How to Make Homemade Fudgesicles
To make these Homemade Fudgesicles is a three-step process, but all three steps are incredibly simple!
Step One: Prepare Homemade Chocolate Pudding
Instead of starting this process with a box of chocolate pudding, this recipe starts with a rich chocolate pudding made with both cocoa powder and chocolate chips. It is rich, creamy, and makes the absolute best base for these fudge pops.
- Whisk together cocoa, sugar, salt, and cornstarch in a saucepan.
- Slowly whisk in ½ cup of the milk and turn the heat to medium. Whisk constantly until sugar and cocoa are dissolved. This takes about 2 minutes.
- Whisk in the remaining 2 cups of milk into the mixture and bring to a gentle boil, whisking constantly.

- Once the milk comes to a gentle, boil, reduce the heat to low and allow the mixture to cook for about 5 minutes, or until thickened. Be sure to whisk every 30 to 60 seconds to prevent the milk from scalding.
- Place chocolate chips into a large mixing bowl.
- Place a fine-mesh strainer over the bowl with the chocolate chips, and pour the hot milk mixture through the strainer. This will help to catch any clumps or lumps that may have formed in your pudding mixture.

- Add the vanilla extract to the strained mixture and stir until the chocolate chips are melted and the mixture is smooth and creamy.

- Cover the pudding mixture and place it into the refrigerator to cool and set up. This will take about 20 minutes.
Step Two: Fold in Whipped Topping
Once the pudding has been set up, you want to combine it with a whipped topping to keep the chocolate popsicles light and airy.
- Remove the pudding from the refrigerator.
- Gently fold the whipped topping into the pudding until it is fully incorporated.

Step Three: Freeze Fudge Pops
- Pour the chocolate pudding mixture into popsicle molds of your choice.
- Carefully transfer the popsicle molds to the freezer and freeze until solid.

Storage & Serving
Homemade Fudgesicles can be stored in the freezer for up to 3 months. To serve homemade fudge pops, place the popsicle mold under running hot water for a few seconds. This will allow the pop to slide out of the mold easily.
More Delicious Dessert Recipes
If you enjoyed these Homemade Fudgescicles, I would love for you to leave a comment below!
Homemade Fudgesicles
Ingredients
- ¼ cup unsweetened cocoa powder
- 3 tablespoons cornstarch or arrowroot powder
- ¼ cup sugar
- ⅛ teaspoon salt
- 2 ½ cups milk see notes
- ¼ cup chocolate chips see notes
- 1 teaspoon vanilla extract
- 1 cup whipped topping see notes
Instructions
- In a medium saucepan, whisk together cocoa, sugar, salt, and cornstarch. Slowly whisk in ½ cup of the milk and turn the heat to medium. Whisk constantly until sugar and cocoa are disolved, about 2 minutes.
- Whisk in the remaining 2 cups of milk and bring to a gentle boil, whisking constantly. Reduce heat to low and allow the mixture to thicken, which takes about 5 minutes. Be sure to whisk every 30 to 60 seconds to prevent the milk from scalding.
- Place chocolate chips in a large mixing bowl and place a fine-mesh strainer over the bowl, strain the pudding mixture over the strainer. Add the vanilla extract and stir until the chocolate chips have melted.
- Refrigerate chocolate pudding mixtures for 15-20 minutes to cool.
- Once the mixture is cooled, gently fold in whipped topping to incorporate.
- Pour into popsicle molds and freeze until solid--at least 4 hours.
- To remove a fudgesicle form the mold, place the mold under running hot water for a few seconds.
Equipment Needed
Notes
Nutrition
This post was originally published in 2017 but was updated in 2020 with new tips.
Lauren Kelly
These are the best! No one can believe that they are dairy free! Thank you!
Toni
My kids can't stop asking for this!! Such a delicious summer treat!
Julia
Love that I can make my own and know exactly what goes in them! Thank you for sharing!
Kristen Chidsey
I am so glad you enjoyed so much!