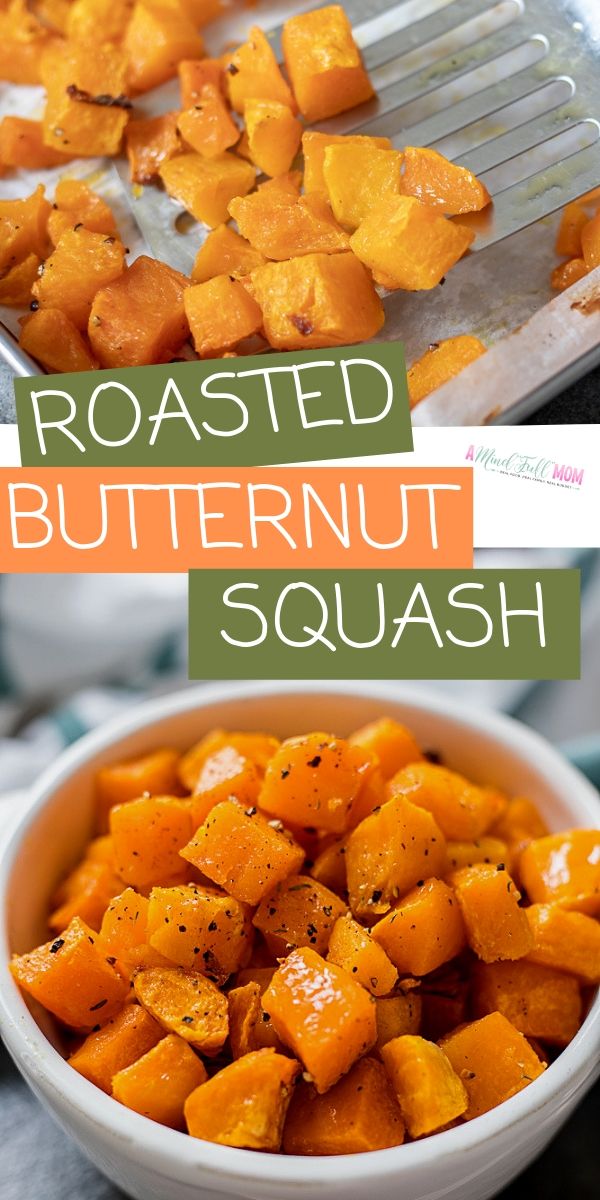
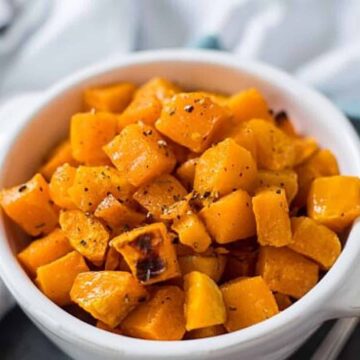
Learn to roast butternut squash with this simple recipe for Roasted Butternut Squash. This recipe yields butternut squash that is crispy on the outside, tender on the inside, evenly cooked, and perfectly seasoned. It makes a delicious and healthy side dish, but also is a fabulous addition to salads.

Why You Should Roast Butternut Squash
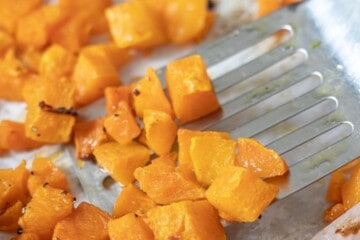
- The Best Flavor. As butternut squash roasts, it becomes tender on the inside and slightly crispy on the outside. The oven caramelizes the squash, bringing out its natural sweet undertones and ultimately intensifying the nutty, earthy flavor of butternut squash.
- Easy Recipe. This recipe is as simple as seasoning the squash and roasting until tender.
- Versatile Recipe. Roasted Butternut squash can be served as a side dish or in recipes calling for roasted squash, such as Roasted Butternut Squash Salad. You can also change up the seasonings to flavor the squash in a variety of ways.
Time-Saving Tip
I LOVE to save money and help you save money, so rarely would I ever suggest purchasing pre-chopped veggies. But the exception to this rule is butternut squash. More often than not, I can purchase 36 ounces of chopped butternut squash for the same price I can purchase one 4-pound butternut squash, which equates to about the same amount of cubed squash once peeled, stemmed, and seeds removed. And it takes WORK to cut a butternut squash! So unless you have them growing in your garden, this is one time I suggest taking a little help from the store.
What you Need
- Butternut Squash: Use a whole butternut squash, that you peel and dice yourself or pre-chopped butternut squash found in most produce sections.
- Oil: Use olive oil, canola oil, avocado oil, or even melted coconut oil. Just keep in mind coconut oil will give the squash a nutty flavor.
- Seasonings: Keep it simple with salt and pepper, or use one of the seasoning ideas below.
- Baking Sheet: I can not stress enough the importance of a rimmed baking sheet. This may sound obvious, but take it from me, you don't want a piece of butternut squash to fall off your baking sheet into your hot oven--what a mess! Those rimmed edges let you move your pan around with ease and flip the squash without worrying that one piece will go overboard!
- Parchment Paper: Because butternut squash's natural sugars caramelize as it roasts, it can easily stick to the pan. The parchment paper will help keep the squash from sticking to the pan, while not requiring as much oil as most recipes call for. Feel free to use a silicone liner or foil in place of the parchment paper, but do not use wax paper (it is not safe for the oven!) Alternatively, you can just grease the baking sheet or toss your squash with ½ tablespoon more olive oil.
Flavor Variations
Change up this basic roasted butternut squash recipe with the following flavor additions to the squash before roasting.
- Thyme Butternut Squash: add 1 tablespoon minced fresh thyme leaves
- Cinnamon Brown Sugar Butternut Squash: add 2 tablespoons brown sugar and 1 teaspoon ground cinnamon
- Maple Butternut Squash: add 2 tablespoons maple syrup
- Garlic Butternut Squash: add 5-7 whole cloves of peeled garlic cloves
- Spiced Butternut Squash: add 1 teaspoon smoked paprika and ½ teaspoon garlic powder.
Tips for Roasting Butternut Squash
The following tips are provided to help you achieve perfect results. You will find the detailed instructions in the recipe card at the bottom of this post.
- Fully preheat the oven. Be sure your oven is fully preheated before placing squash in the oven! The rapid heating of the oven will result in the squash browning too rapidly.
- Bake at 400 degrees F. It is best to roast squash at a high enough temperature that will allow the exterior to crisp up. But you want to be sure that the oven is not too hot, as that would result in the outside of the squash being cooked before the inside is nice and tender. Important tip:
- If you DO have whole butternut squash, cut it into 1-inch cubes. Do this by cutting off both ends of the butternut squash. Use a vegetable peeler to remove the skin of the squash. Cut the squash in half, separating the skinny neck of the squash from the thick round bottom of the butternut squash. Cut the bottom of the squash in half to reveal the seeds in the squash, and use a large spoon to scoop out the seeds from the squash. Cut into slices and then cube the squash.
- Bake in a single layer. Do not overlap the squash on the sheet pan. You want the ensure the butternut squash will evenly brown and roast, not steam. It is better to use two pans than to overcrowd one pan.
- Flip halfway through roasting. This will ensure each side browns and caramelizes evenly.

Serving Suggestions
- Serve as a healthy side dish to meals such as Bacon-Wrapped Pork Tenderloin or Blackened Mahi Mahi.
- Use the roasted squash in place of roasted sweet potatoes, such as Sweet Potato Burritos, or add it to Vegetarian Enchiladas
- Add the roasted squash to breakfast hashes, omelets, pasta, and Instant Pot Risotto, or use it as a taco filling.
- Add Roasted Butternut Squash to Roasted Butternut Squash Salad or Harvest Quinoa Salad
Storage Instructions
- Refrigerate: Cooled, roasted butternut squash can be stored in an air-tight container for up to 4 days in the refrigerator.
- Freeze: Once the squash is roasted, allow it to cool right on the parchment-covered sheet pan. Pop the sheet pan into the freezer and allow it to freeze until solid. This should take about an hour. Once frozen solid, remove the squash from the parchment paper, place it into a freezer-safe bag, and freeze for up to 3 months.
- Reheat: In order to retain the crispy edges of the squash of roasted squash, I strongly recommend reheating the squash in the oven. Preheat the oven to 400 degrees Fahrenheit and cook for 10-15 minutes in the refrigerator and 25-30 minutes in the freezer.
More Roasted Vegetable Recipes
- Roasted Broccoli
- Roasted Brussels Sprouts
- Roasted Acorn Squash
- Roasted Red Potatoes
- Roasted Asparagus
- Roasted Carrots
If you tried this recipe for roasted butternut squash, be sure to leave a review and let us know what flavor option you enjoyed!
Roasted Butternut Squash
Ingredients
- 1 medium butternut squash about 4 pounds, or 36 ounces chopped butternut squash
- 1½ tablespoons olive oil
- 1 teaspoon kosher salt
- ½ teaspoon freshly ground black pepper
Instructions
- Preheat the oven to 400℉ and line a rimmed baking sheet with parchment paper or grease the pan well with olive oil.
- Peel and cut the squash into 1 inch cubes.

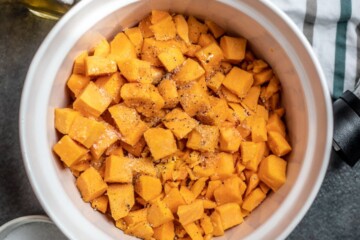
- Season the squash with olive oil, salt and pepper. Feel free to add in seasonings of your choice at this step.

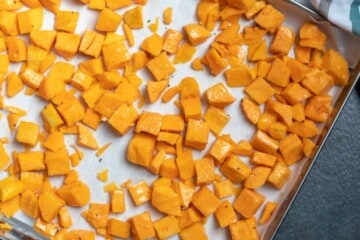
- Spread the squash out evenly onto the prepared pan, ensuring there is enough space around the squash to allow it to evenly brown.
- Roast for 20 minutes, remove the pan from the oven and flip the squash over. Roast for at least another 20 minutes, or until squash is tender and browned slightly.

Equipment Needed
Notes
- Thyme Butternut Squash: add 1 tablespoon minced fresh thyme leaves
- Cinnamon Brown Sugar Butternut Squash: add 2 tablespoons brown sugar and 1 teaspoon ground cinnamon
- Maple Butternut Squash: add 2 tablespoons maple syrup
- Garlic Butternut Squash: add 5-7 whole cloves of peeled garlic cloves
- Spiced Butternut Squash: add 1 teaspoon smoked paprika, ½ teaspoon garlic powder.
Nutrition
Carolyn Hardaway
Such an easy and healthy vegetable! The listing of variations for flavorings was first class. Love the simplicity!!
Della Kizer
Trying to find the recipe for stuffed butternut squash you had listed in the weekly meal plan
Kristen Chidsey
Here you go: Stuffed Butternut Squash. Sorry you were having issues finding 🙂
Katie
This was fantastic! Perfectly cooked.
Kristen Chidsey
I am so glad you enjoyed!
Lisalia
The BEST way to eat butternut squash! Really brings out the depth of flavor.
Kristen Chidsey
I totally agree! Glad you enjoyed Lisalia!
Jennifer Banz
This is one vegetable that I really love any kinda way!
Thanks for sharing!
Kristen Chidsey
One of my favorites too Jennifer 😉
Jessica Formicola
We love butternut squash in the fall, and this is our absolute favorite recipe to use! Thanks so much for sharing it!
Kristen Chidsey
YAY!!! Sometimes simple is best!