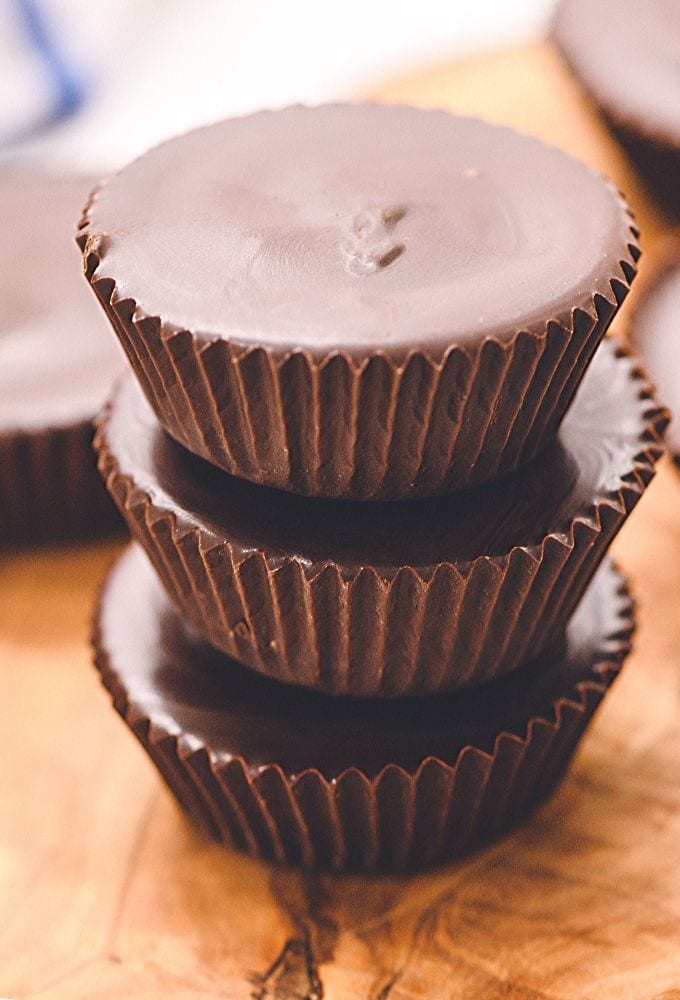
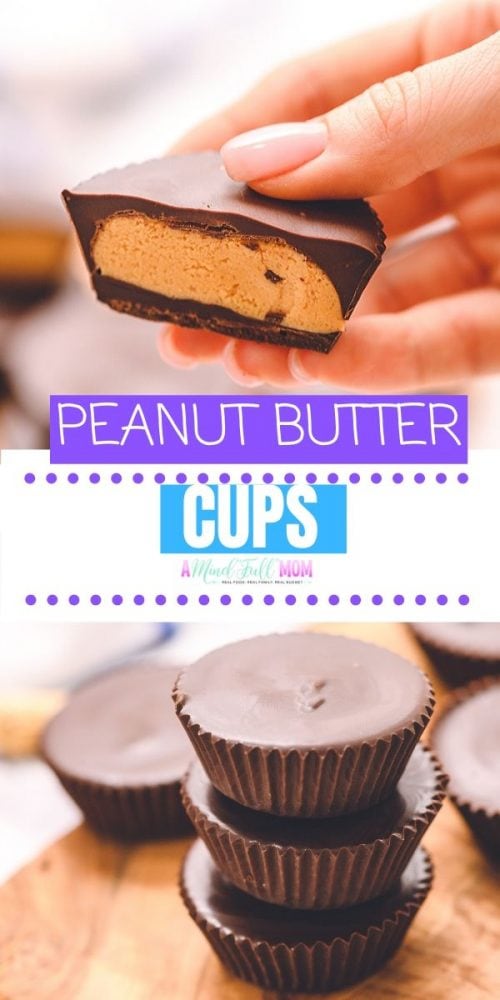
Nothing beats a homemade peanut butter cup! This recipe for copycat Reese's Peanut Butter Cups is a simple, easy, no-bake treat that is sure to satisfy your deepest craving for chocolate and peanut butter!
Homemade Is Best
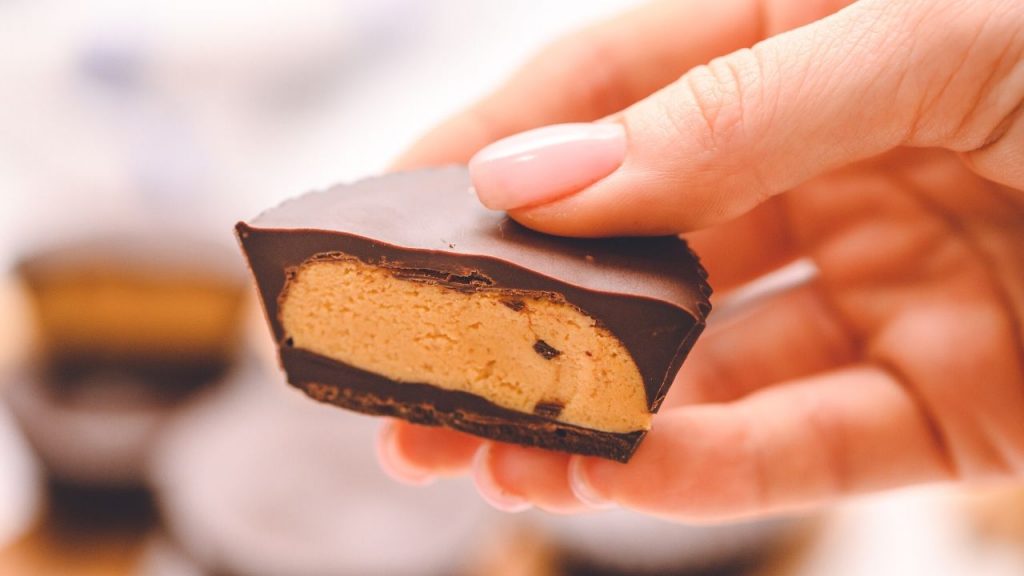
I have always been obsessed with Reese's Cups. I can never resist any combination of peanut butter and chocolate, but my all-time favorite treat is a peanut butter cup. Layers of chocolate, surrounded by soft, creamy peanut butter--perfection!!
But take a look at those ingredients in a Reese's Cup: milk chocolate (sugar, cocoa butter, chocolate, nonfat milk, milk fat, lactose, soy lecithin, PGPR, emulsifier), peanuts, sugar, dextrose, salt, TBHQ (preservative), citric acid (to maintain freshness).
Um--PGPR and TBHQ--NO THANK YOU!
Truth be told, I have ZERO willpower if you place a Reese's Cup in front of me. Despite the questionable ingredients, I will more than likely succumb to eating it--and not have any regrets! But, I MUCH prefer making my own peanut butter cups.
By making homemade peanut butter cups, not only do you skip out the unnecessary additives, but you also can customize the peanut butter cups to your liking. You can use milk chocolate, dark chocolate, and dairy-free chocolate. You can even use almond butter or sunflower seed butter in place of peanut butter to make peanut-free PB cups!
If you love the combination of peanut butter and chocolate, these Homemade Peanut Butter Cups are for you!
Notes on Ingredients and Equipment
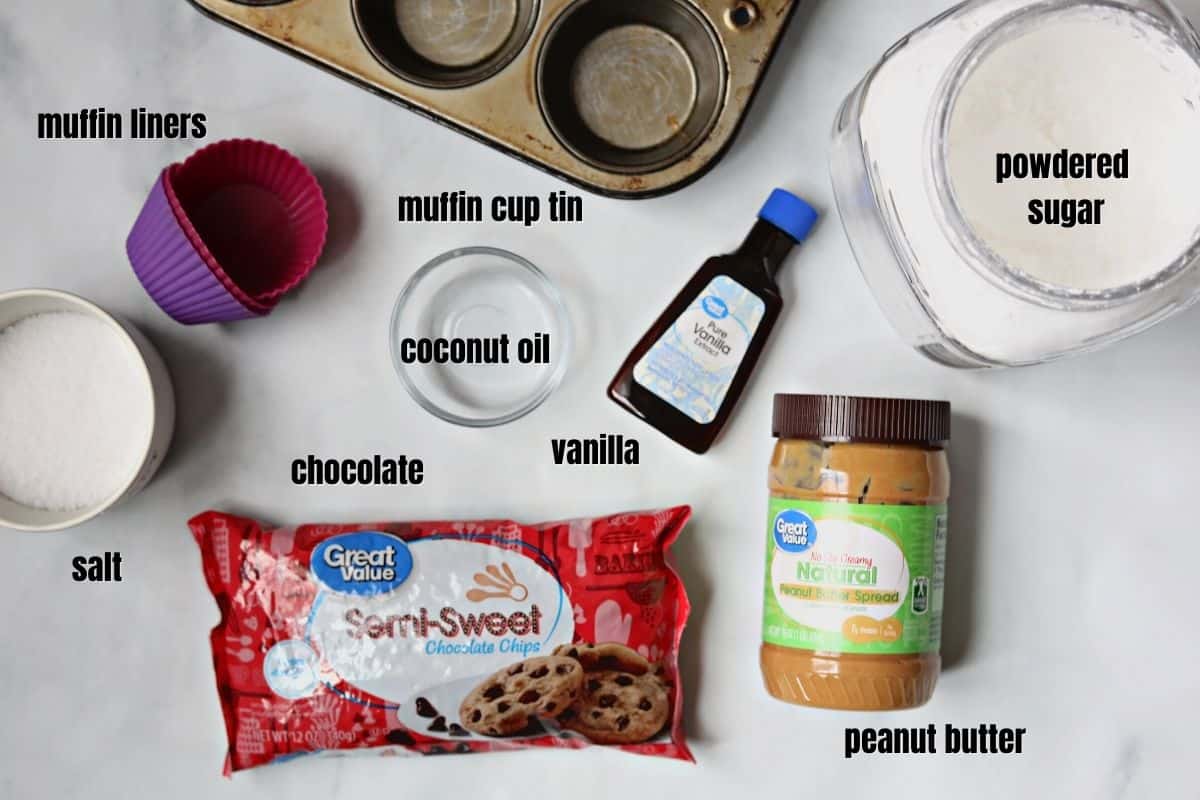
- Peanut Butter: I recommend using shelf-stable peanut butter for these peanut butter cups, but refrigerated natural peanut butter will work as well. You may just need to add an additional 1 to 2 tablespoons of powdered sugar to the mixture to help shape the peanut butter.
- Chocolate: You can use any kind of chocolate you like for these peanut butter cups. Dark chocolate, semi-sweet chocolate chips, milk chocolate, and white chocolate all work to make the coating for the peanut butter cups.
- Powdered Sugar: Is used to help thicken up the peanut butter and sweeten the peanut butter, powdered sugar is the perfect sweetener to use.
- Coconut Oil: This is an optional ingredient, but adding a bit of coconut oil to your melted chocolate, it will make the chocolate easier to work with and helps the chocolate solidify.
- Muffin Tin: You can use mini muffin cups or standard muffin cups--it is just based on how large you want your peanut butter cups.
- Muffin Liners: To keep the peanut butter cups from sticking the muffin cups, use either paper or silicone muffin liners.
How to Make Peanut Butter Cups
Step One: Melt Chocolate
The first step to making peanut butter cups is to melt chocolate. You can melt your chocolate in the microwave or by using the slow cooker.
My preferred method for melting chocolate is using the slow cooker. The process is completely hands-off and the chocolate melts evenly and stays warm while you assemble the peanut butter cups--no need to reheat the chocolate!
- Regardless of the process you choose, if needed chop your chocolate into small morsels--about the size of chocolate chips.
- Place the chocolate into a heat-safe bowl if melting in the microwave or into a heat-safe glass jar if melting in the slow cooker.
- If using the microwave to melt the chocolate, microwave for 30-second intervals, stirring after each interval, until the chocolate is melted.
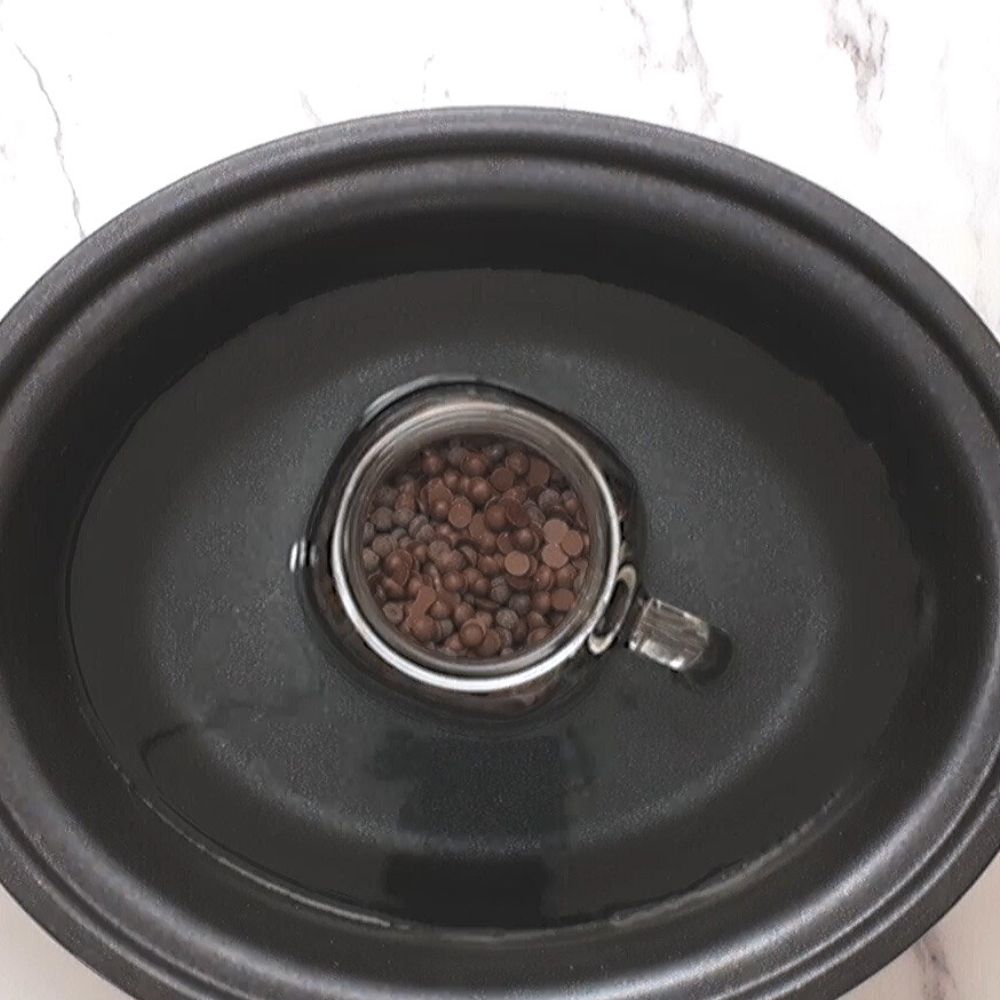
- If using the slow cooker to melt the chocolate, place the heat-safe jar in the slow cooker and then carefully pour water into the slow cooker until the water line reaches halfway up the jars, being VERY cautious not to get any water into the jar of chocolate. Turn the slow cooker on high, do NOT put the lid on the slow cooker, and in about 30 minutes your chocolate will be perfectly melted (no need to stir while the chocolate melts). Check on the chocolate after 20 minutes, as all slow cookers vary in temperature.
Step Two: Prepare Muffin Tin
While your chocolate is melting, prepare a muffin tin. You can use mini muffin cups or standard muffin cups, and then simply line the muffin cups with either paper or silicone liners. That way your peanut butter cups won't stick to the pan.
Step Three: Form the Chocolate Base
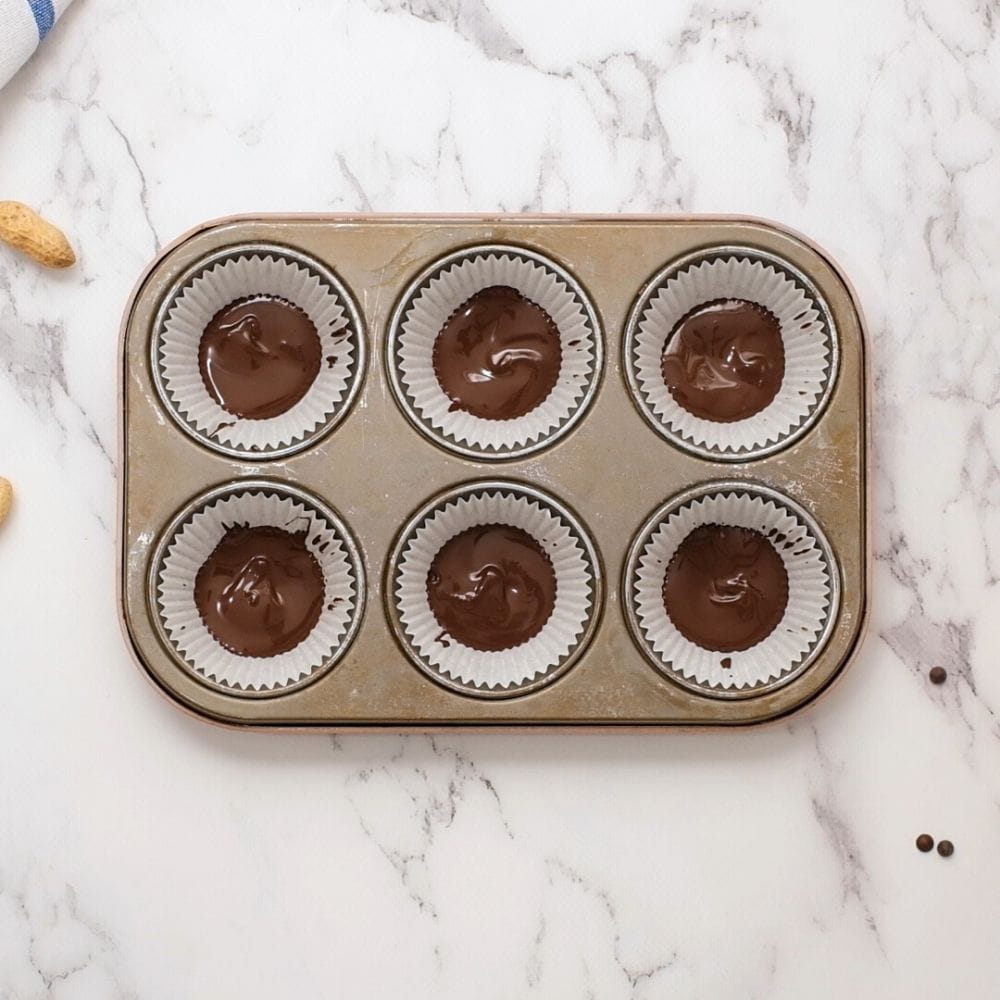
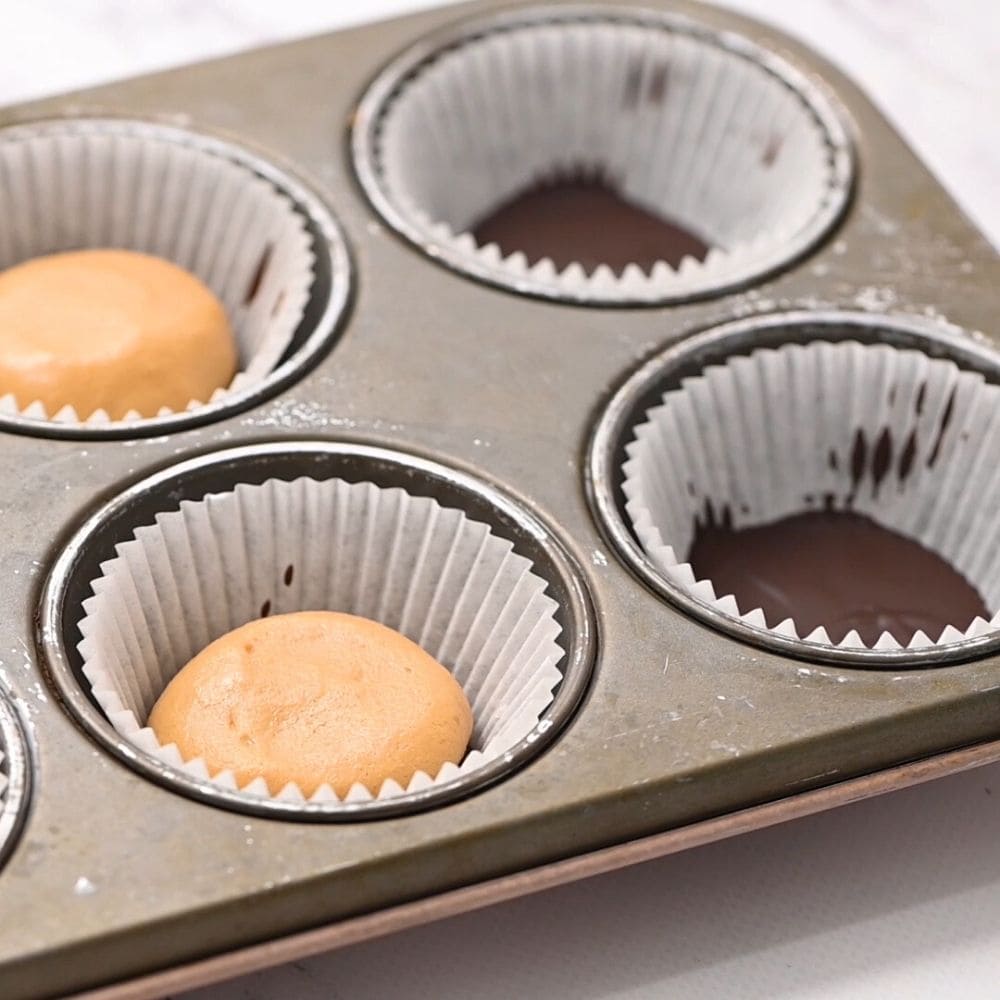
- Using a small cookie scoop or spoon, place just enough chocolate in each liner to cover the bottom of the muffin liner, and gently use the back of the spoon to spread the chocolate out into a smooth layer.
- Place the muffin tin into the refrigerator or freezer for 5 minutes, giving the chocolate time to harden.
- Place melted chocolate BACK in the slow cooker to keep the chocolate melted as the base hardens. (If microwaved your chocolate to melt, you may need to reheat it before topping off your peanut butter cups.)
Step Four: Form Peanut Butter Layer
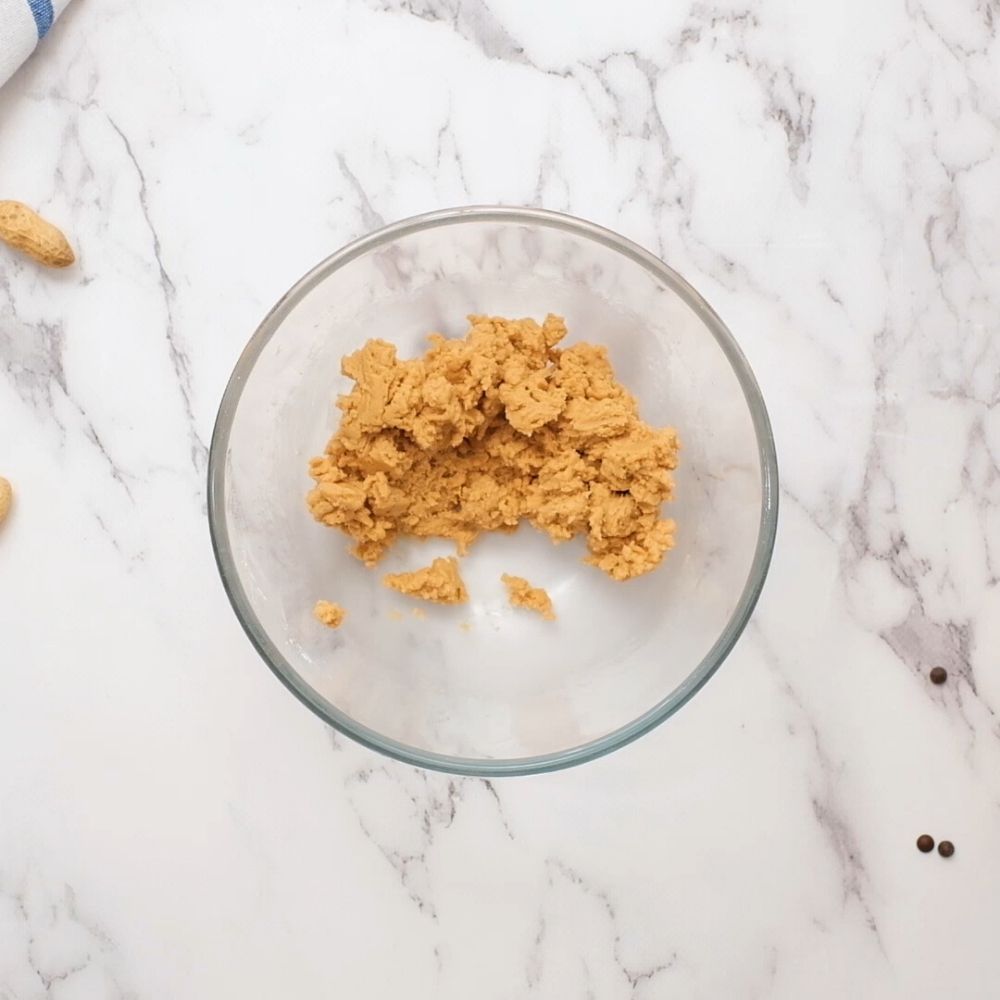
- While the chocolate base sets up, combine the peanut butter, powdered sugar, vanilla, and salt together in a medium mixing bowl, mixing with a handheld mixer on medium speed until a thick dough forms.
- Remove the muffin tin from the refrigerator or freezer.
- Measure out ½ to 1 tablespoon of the peanut butter mixture and using your hands, roll it into a disk that is slightly smaller than the base of the muffin tin.
- Place the peanut butter patty on top of the chocolate base.
Step Five: Cover with Chocolate
- Spoon 1-2 teaspoons of the remaining melted chocolate over the peanut butter layer, using a spoon to spread evenly and drip down the sides of the peanut butter mixture.
- Place the peanut butter cups back into the refrigerator for 10-15 minutes to harden.
Step Six: Unmold and Enjoy
- Once the chocolate has hardened, remove the muffin liner from the muffin tin and remove the peanut butter cup from the liner.
- Bite into chocolate peanut butter perfection!
Step-By-Step Video
If you would like me to talk you through the steps in detail, be sure to check out my video on YouTube for Homemade Peanut Butter Cups.
Storage Instructions
Homemade Peanut Butter Cups need to be stored in an airtight container in the refrigerator or freezer to prevent the chocolate from melting.
Store the Peanut Butter Cups in an airtight container in the refrigerator for 4-5 days. Or store the PB Cups in an airtight freezer-safe container in the freezer for up to 1 month. After 1 month, the quality of the taste will diminish. Before enjoying a peanut butter cup from the freezer, allow it to come to sit at room temperature for 5-10 minutes for the ultimate taste and texture.
Dietary Modifications
- Dairy-Free: Use dairy-free chocolate chips, such as the brand Enjoy Life, for the chocolate.
- Peanut-Free: You can replace the peanut butter with almond butter, cashew butter, or sunflower seed butter if you have an allergy to peanuts.
Recipe FAQs
Simply add more powdered sugar to the mixture, 1 tablespoon at a time, until the dough sticks together and easily form a disk.
This recipe does not use butter, as many peanut butter cup recipes call for. I find the addition of butter is not necessary. By omitting it, the peanut butter flavor really shines through and makes the peanut butter cup a bit healthier.
Yes! To use a double-boiler, fill a medium pot just under halfway full with water. Bring the water to a simmer over medium-low heat. Place a heatproof bowl that's just big enough to sit on top of the pot and add the chocolate to the bowl. Turn the heat to low, and stir the chocolate with a spatula until melted and smooth.
More Peanut Butter Chocolate Treats
- Peanut Butter Chocolate Chip Banana Muffins
- Peanut Butter Coffee
- Peanut Butter Balls
- Peanut Butter Blossoms
If you tried out this recipe for homemade peanut butter cups, I would love for you to leave a comment and review below.
Homemade Peanut Butter Cups
Ingredients
- ½ cup peanut butter
- ¼
cup powdered sugar - ½ teaspoon vanilla extract
- ¼ teaspoon salt
- 16 ounces chocolate chips (this is about 2.5 cups of chocolate chips/chopped chocolate)
- 1 tablespoon coconut oil optional
Instructions
- Line a 6-cup muffin tin with silicone liners or paper liners. Alternatively, line a 12-cup mini cupcake liners.
- In a mixing bowl, beat together the peanut butter, powdered sugar, vanilla extract, and salt together until well combined. Set aside.
- Melt the chocolate in the microwave for 30-second intervals until melted or melt chocolate using the slow cooker method (preferred method--see below). Add in melted coconut oil, if using, to melted chocolate and stir until well distributed.
- Using a small cookie scoop, place ½ tablespoon melted chocolate in each liner. Swirl the chocolate to cover the bottom of the muffin liner.
- Place muffin tin in fridge or freezer for 5 minutes for chocolate to harden.
- Once the bottom layer of the peanut butter cup has hardened, remove from fridge/freezer. Take about ½ tablespoon to 1 tablespoon peanut butter and form a disc that is just smaller than the mold so that there is room for chocolate to go around the edges. Place the peanut butter in the center of the chocolate base.
- Place 1-2 teaspoons of the remaining melted chocolate over the peanut butter layer. Use a spoon to spread evenly.
- Place the peanut butter cups back in the fridge/freezer for 5-10 minutes to harden.
- Store the peanut butter cups in the refrigerator for 4-5 days in an airtight container.
Melting Chocolate in Slow Cooker
- Place chocolate in heat safe glass jar. Place jar in slow cooker and then carefully pour water into slow cooker until the water line reaches halfway up the jars. Be cautious not to get any water into the jar of chocolate.
- Turn slow cooker on high, do NOT put lid on the slow cooker, and in about 30 minutes your chocolate will be perfectly melted (no need to stir while chocolate melts). Check on chocolate after 20 minutes, as all slow cookers vary in temperature.


Barb
OMG, these where amazing!! I plan to make another batch for Valentine's Day
Kristen Chidsey
Who wouldn't want these for Valentine's Day?!
cath
Peanut Butter cups are my kryptonite and the fact I can make them at home is the best. In fact these tasted way better than real brand.
Kristen Chidsey
I am so glad you enjoyed!
Julie Pollitt
These came out perfectly! I used the peanut butter you suggested, and they were great. The kids loved these peanut butter cups more than store-bought!
Kristen Chidsey
Wonderful! Thank you for sharing.
Julienne
They are okay, but way too sweet. The peanut butter did not set up enough to form. Even after putting them in the fridge, the peanut butter squished out when I bit into the cup. I may try again and make the small ones. Full size cupcake tins are too big for such a sweet dessert.
Kristen Chidsey
Hi Julienne! This is meant to be a sweet dessert. But if you used milk chocolate your cups would be overall sweeter. As for the peanut butter not setting up, can I ask what brand you used? Did you add the powdered sugar?
Julienne Schaeffer
I used Jiffy peanut butter, and yes, I did add the powdered sugar. I was wondering if it was the peanut butter I used. And yes, if I make them again, I would use semi-sweet chips. My husband and kids like milk chocolate, but I think it made them too sweet. Thanks for the response!!
Kristen Chidsey
For this recipe, I would agree, milk chocolate is a bit sweet. And that is odd that your peanut butter wasn't shapable. In the future, add a bit more powdered sugar until it is thicker.
Missy
I made these and my kids went crazy for them. So easy and we've found our new favorite dessert.
Lynn
This looks amazing and I'm going to make some. I have a Halloween party next Saturday and I'm planning on making these in a round skull mold. If I made these today will they still be good next Saturday? These molds are so time consuming and I'm hoping to get a head start.
Kristen Chidsey
Hi Lynn! What a coincidence! I am making these for a Halloween Party as well (in the shape of pumpkins, though! Skulls sound super fun!) And yes, they will last, just keep them in an airtight container in the refrigerator. Have fun!
William Gallaher
Love these.
Thank you very much for sharing this awesome recipe.
Stay strong and be safe 🙏.
Lynda
Really loved them.my whole family loved them. They came out perfect.. only one comment. I live in the south, they melted pretty quick. I used coconut oil. Is there any other way to get them alittle harder?
Kristen Chidsey
Hi Lynda! I am so happy you enjoyed these PB cups! I would suggest storing in the refrigerator if your house is on the warmer side. Let them come to room temperature for about 15-30 minutes and then enjoy (or enjoy cold)