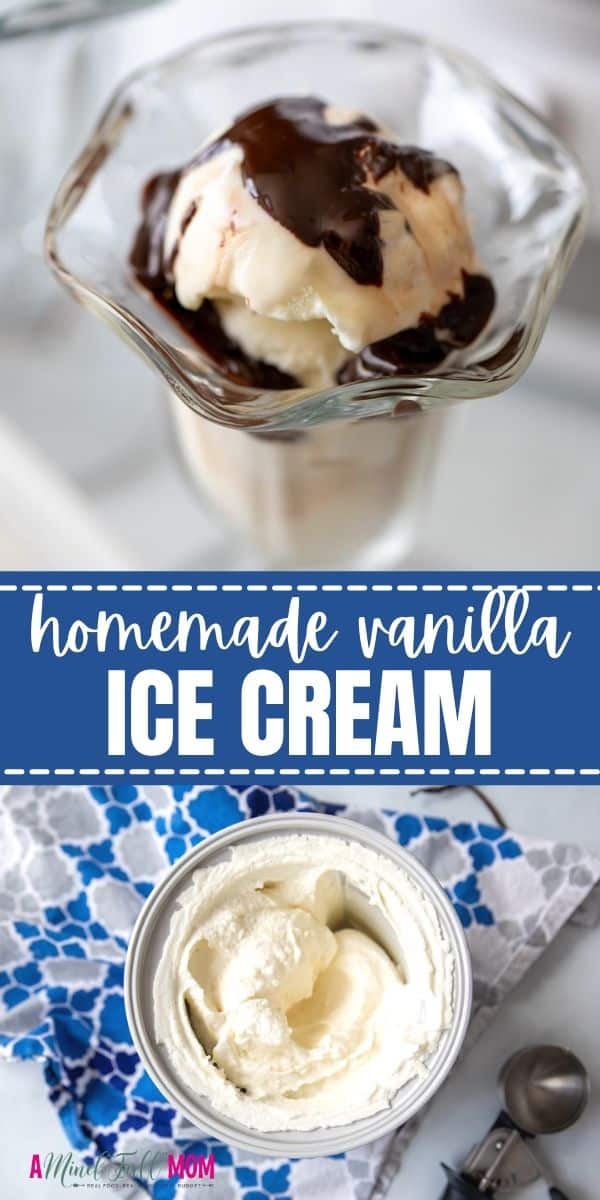
This recipe for Homemade Vanilla Ice Cream is the best! It is rich, creamy, luscious, and incredibly simple to make.

My weakness is ice cream. I just can not resist a bowl or a cone of creamy, rich ice cream. And while I love just about ANY flavor or variety of ice cream, homemade ice cream trumps store-bought ice cream every single time.
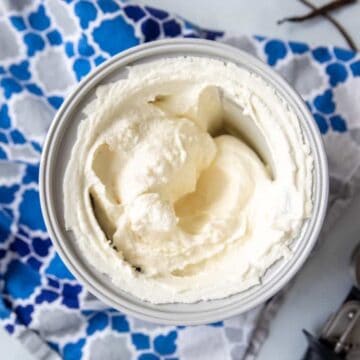
Homemade Ice Cream is richer, creamier, and swoon-worthy. The options for flavoring are endless, but today I am sharing with you my recipe for Vanilla Ice Cream.
The Best Homemade Vanilla Ice Cream Recipe
This recipe for vanilla ice cream is everything ice cream should be. It is rich, yet light and creamy and full of vanilla flavor.
But what sets this ice cream recipe apart is everything that it is NOT. There are no eggs, no stabilizers, no high fructose corn syrup, and no preservatives in this recipe for homemade ice cream. We are talking pure, perfect vanilla ice cream.
And while you may think making ice cream at home is complicated, the process could not be easier. You only need an ice cream maker and 4 simple ingredients. No ice cream maker? Use my recipe for No-Churn Vanilla Ice Cream for the same creamy results.
Ingredients Needed

- Milk: Be sure to use whole milk or half and half for the creamiest, richest ice cream. I have had success using 2% milk, but skim milk will not produce creamy ice cream.
- Heavy Cream: Be sure to use heavy whipping cream, not a product labeled whipping cream.
- Vanilla Extract: Do not use imitation vanilla extract, there is no substitute for pure vanilla extract.
- Sugar: Granulated sugar is best for this recipe. Use ¾ cup to 1 cup of sugar. I find ¾ cup perfect, but if you like things REALLY sweet, use a full 1 cup of sugar.
How to Make Homemade Vanilla Ice Cream
Plan: The hardest part about making homemade ice cream is that you have to remember to place the base of your ice cream maker in the freezer for 12 hours BEFORE making this ice cream recipe. I stash my ice cream base in my deep freezer at all times so that it is always ready to go. However, I realize that the majority of you may not have space to do so, so be sure to think ahead when making ice cream using an ice cream maker.
Once the base of your ice cream maker is frozen, making homemade ice cream is a simple process. Especially this recipe for Egg-Free Vanilla Ice Cream.
- In a medium saucepan, whisk together the milk, sugar, and cream.
- Heat over medium heat, until the sugar is dissolved and the mixture becomes just hot to the touch. You should just begin to see very small bubbles around the edges of the pan, but you do not want to let the mixture come to a boil to prevent the milk from scalding.

- Transfer the warm cream to a large glass measuring cup, as this will make the ice cream mixture so much easier to pour into the ice cream maker. I have learned from experience!
- Stir in the vanilla extract or vanilla beans.

- Place the cream mixture into the refrigerator and chill thoroughly for at least 2 hours, or overnight.
- When ready to churn the ice cream, remove the frozen base from the freezer and assemble the machine.
- Turn the ice cream machine on and then pour the cream mixture into the base of the ice cream maker, and churn according to the manufacturer's directions, for 20 to 25 minutes.

- Once the ice cream is softly frozen, serve immediately as soft-serve ice cream or transfer the mixture to an airtight, freezer-safe container and freeze for 2 to 3 hours, or until hardened and scoopable.

How to Store Homemade Ice Cream
Homemade Ice Cream will keep for 2 months in the freezer in an airtight container. However, I find that the flavor is best enjoyed if the ice cream is enjoyed within 1 month.
Helpful Tip: To prevent ice crystals from forming on your ice cream, place a layer of wax paper or plastic wrap directly over the surface of the ice cream. Cover tightly with a lid and store in the freezer as directed.
No Ice Cream Maker?
The purpose of an ice cream maker is to incorporate air into the cream, keeping it light and fluffy as it freezes. To try to just freeze this mixture in a freezer-safe container works, but will not give you creamy, light ice cream. If you don't have an ice cream maker, I suggest using my recipe for No-Churn Ice Cream.
Serving Suggestions
Nothing beats a scoop of homemade ice cream and the options for serving are endless. Below are a few of my favorites!
- Serve a scoop or two of this homemade vanilla ice cream with Homemade Chocolate Syrup and Homemade Whipped Cream.
- Homemade Vanilla Ice Cream completes recipes like Peach Crisp, Apple Crisp, or Peach Cobbler.
- After the ice cream is churned, mix in brownie bites, cookie dough, cookie chunks, or berries, and then freeze until solid for deliciously flavored ice cream.
- Top a slice of Hot Milk Cake with a scoop of vanilla ice cream and be transported back to your grandma's kitchen.
- Make a killer brownie sundae by starting with a warm Homemade Brownie, then topping with Chocolate Syrup and Whipped Cream.
- Use Homemade Vanilla Ice Cream to make Homemade Drumstick Ice Cream Cones.
- Nothing quite beats serving Apple Crisp, Baked Apples, or Dutch Apple Pie with a scoop of ice cream.
If you enjoyed this recipe for Homemade Vanilla Ice Cream, I would love for you to leave a comment and a review below.
Vanilla Ice Cream
Ingredients
- ¾-1 cup white sugar see note
- 2 cups heavy whipping cream
- 2 cups whole milk
- 2 teaspoons pure vanilla extract
Instructions
- Place the base of your ice cream maker into the freezer for at least 12 hours before preparing the homemade ice cream mixture.
- In a medium saucepan, whisk together the milk, sugar, and cream. Heat over medium-low heat, until the sugar is dissolved and the mixture is just warm to the touch. Do NOT allow the mixture to come to a boil.
- Transfer the warm cream to a large glass measuring cup and stir in the vanilla extract.
- Place the cream mixture into the refrigerator and chill thoroughly for at least 2 hours or overnight.
- When ready to churn the ice cream, remove the frozen base from the freezer and assemble the machine.
- Turn the ice cream machine on and then pour the cream mixture into the base of the ice cream maker, and churn according to the manufacturer's directions, which is typically for 20 to 25 minutes.
- Once the ice cream is softly frozen, serve immediately as soft serve ice cream or transfer the mixture to an airtight, freezer-safe container and freeze 2 to 3 hours, or until hardened and scoopable.
- Homemade Ice Cream will keep for 1 month in the freezer in an airtight container. To prevent ice crystals, place a layer of wax paper or plastic wrap directly over the ice cream and then top with the container’s lid.
Kara
This didn't disappoint! Ridiculously easy, and so delicious!
Kristen Chidsey
I love hearing that Kara! Thanks for sharing!
Laura Reese
You had me at four ingredients! It was so easy to make! We will be doing it again and again. Delicious.
Kristen Chidsey
This recipe really is so easy! I love hearing you enjoyed Laura!
Jessica
This was absolutely DELICIOUS! Super easy to make too. My kids are already asking when they can have it again. Thank you!
Kristen Chidsey
Sounds like your kids enjoy this ice cream as much as mine 🙂 Love hearing that!
Theresa
YUM!!