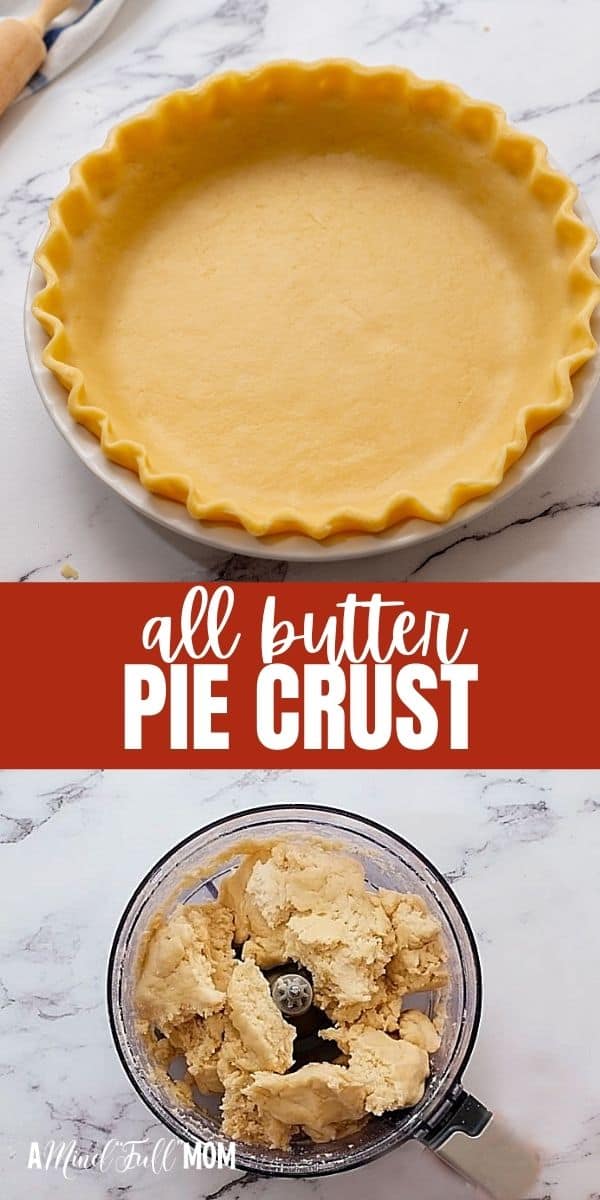
This Homemade Pie Crust is made with all butter and is light, flaky, and surprisingly easy to make.

All-Butter Pie Crust
When it comes to pie crust, it must be flaky, it must be crisp, it must be tender, and it must be tasty.
And in my book, it must be made with all butter--no shortening! The flavor is superior, and there are no added hydrogenated oils.
It sounds like a daunting task, but it really is simple to make a homemade pie crust, especially if you follow my directions and tips.
Pro-Tips for Pie Crust
- Chill Everything! As crazy as this sounds, it is best to place not only the ingredients, but also the food processor, plastic dough blade, and pie dish in the refrigerator to chill thoroughly before preparing the pie crust. It makes a huge difference!
- Don't Overwork the Dough. The less you handle the dough, the better. Overworked pie dough is likely to shrink and be tough.
- Rest the Dough. You MUST refrigerate the pie dough after forming for at LEAST two hours before rolling out the dough. And once rolled out, I find it best to leave it alone for a couple of minutes before transferring it to the pie pan. That way any shrinkage will occur in that and you will be less likely to tear or stretch the dough when fitting to the pan.
- Chill AGAIN!!! Don't skip the final chilling. We want our pie crust to be super cold when it goes into the oven. That way the butter will slowly melt as the crust bakes, forming butter, flaky layers.
Notes on Ingredients
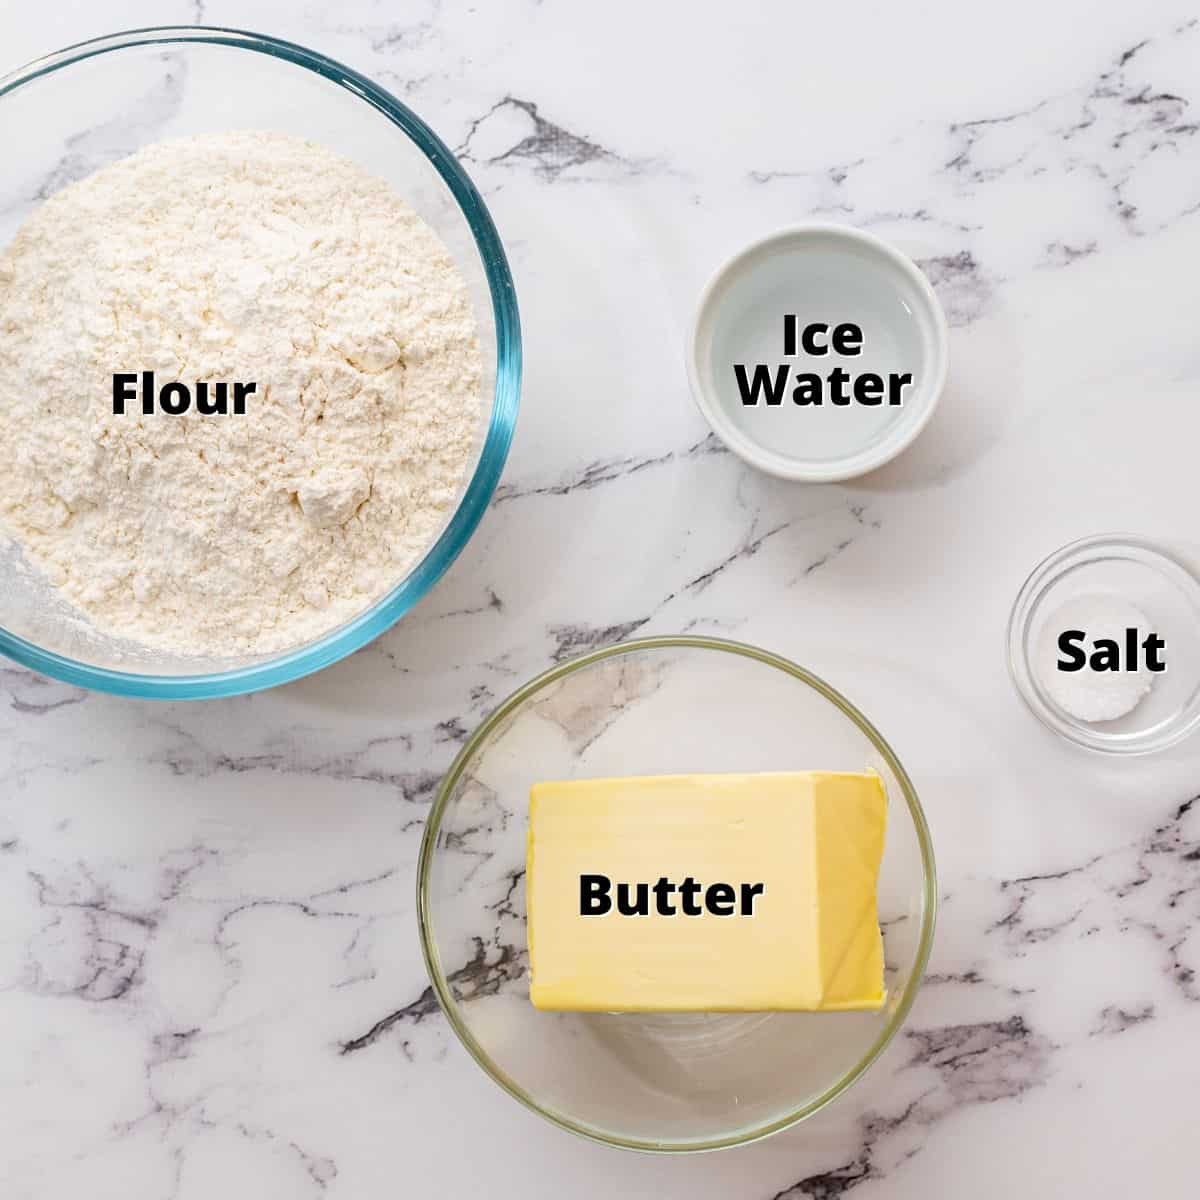
- Flour: I have made this successfully with all-purpose, whole wheat pastry, and whole white wheat flour.
- Butter: Be sure to use unsalted butter for the best flavor.
- Ice Water: It MUST be ice water. I fill a measuring cup with ice and then fill it with cold water and measure out the water.
Step-By-Step Directions
- Chill equipment and ingredients. This is SUCH a crucial step when it comes to making pie crust--don't skip the step of placing the bowl of the food processor, plastic dough blade, pie dish, and flour in the refrigerator to chill thoroughly.
- Grate butter. Using a box grater, grate the sticks of butter. Place grated butter into the freezer for 15-20 minutes.

- Pulse dry ingredients. In the chilled food processor, pulse the flour and salt together to evenly disperse the salt through the flour.

- Add butter. Remove the butter from the freezer and add to the flour mixture. Pulse several times until the mixture resembles coarse crumbs, or the butter is distributed through the flour evenly.

- Add ice water. Drizzle the cold water in, 2 tablespoons at a time, and pulse the food processor once after each addition. Stop adding water when the dough comes together easily and begins to form large clumps. The dough will feel moist and a little sticky, but not feel overly wet. Drizzle the cold water in, 2 tablespoons at a time, and pulse the food processor once after each addition. Stop adding water when the dough comes together easily and begins to form large clumps. The dough will feel moist and a little sticky, but not feel overly wet. I typically need 8 tablespoons of water to reach the perfect consistency.

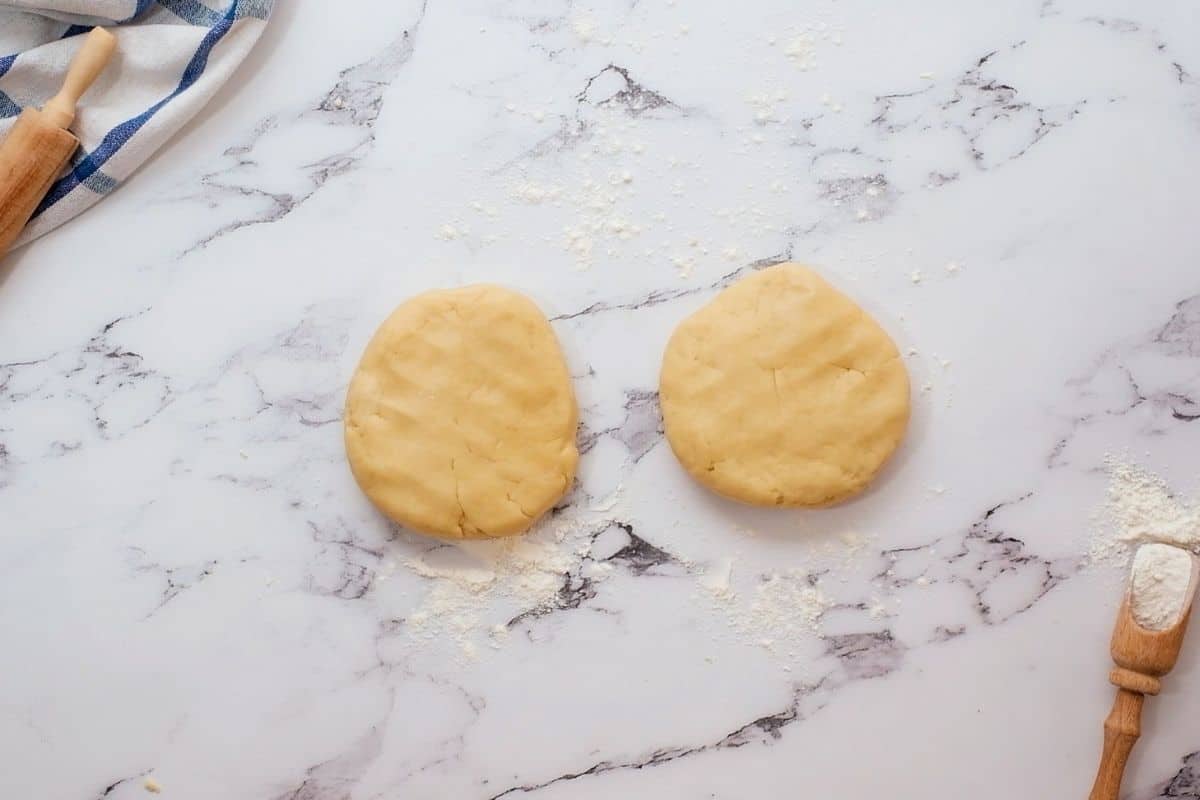
- Form disks. Using floured hands, turn the dough out onto a floured workspace. Press the dough together to form a disk and cut that disk in half. Using floured hands, turn the dough out onto a floured workspace. Cut in half and then flatten each disk to about 1- inch thickness.
- Chill. Wrap each disc tightly in plastic wrap and refrigerate for at least 2 hours.
- Roll. Remove the pie dough from the refrigerator and let sit out 3-5 minutes to make it easier to roll. Lightly flour your work surface and rolling pin. Roll out the disk of dough from the center moving outward until the diameter crust is about 12 inches--slightly larger than your pie dish.

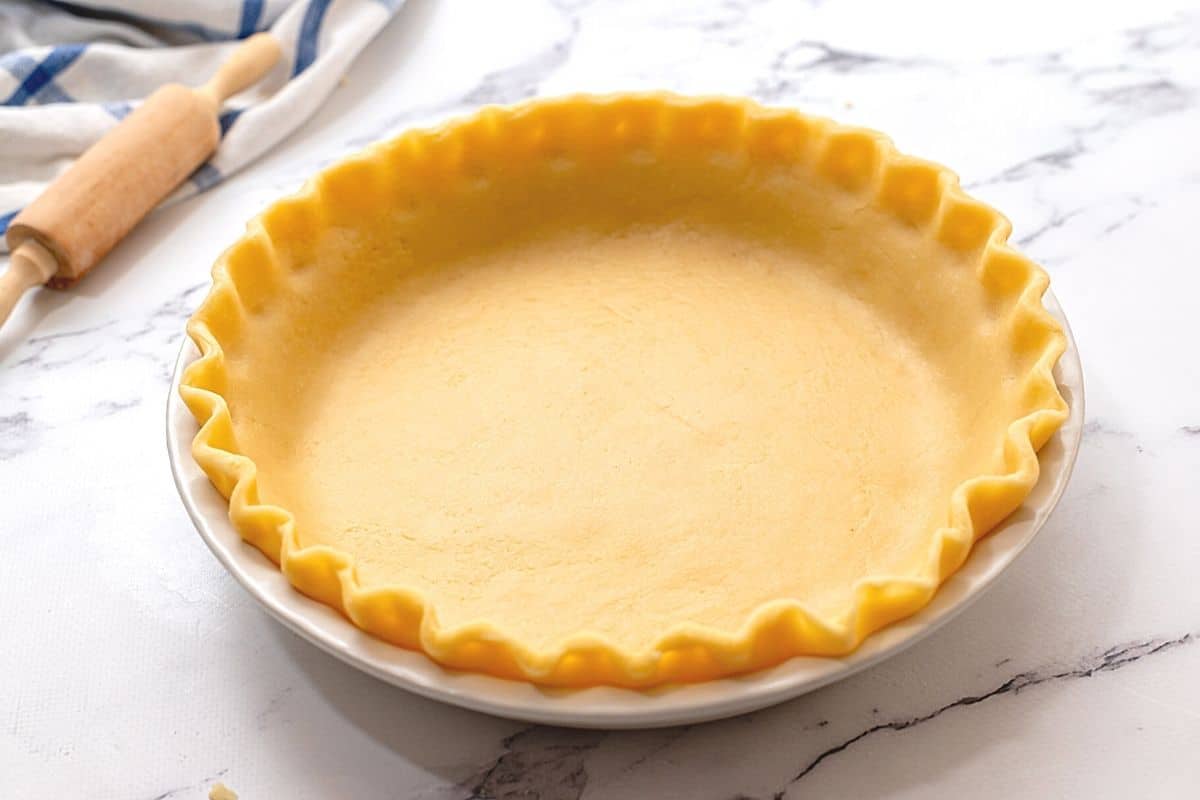
- Transfer dough to pie pan. Let the dough rest for a couple of minutes and then very carefully transfer the pie crust to the pie pan. Gently press the dough onto the sides of the pie plate and then fold under the overhanging crust so that the edge is even.
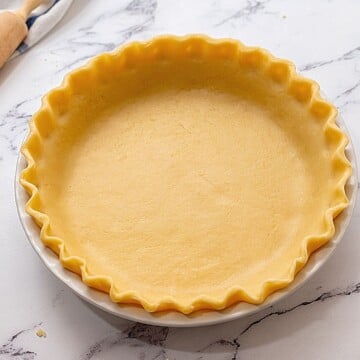
- Flute the edges. Use your knuckle from one finger to indent the pie crust and then two fingers from your other hand to pinch the crust, and form the fluted edge.

- Chill. Place the pie crust into the refrigerator for 1 hour before using it for your pie recipe.
- Before baking your pie crust, remove from the refrigerator for 5-10 minutes to take the chill off. This will help prevent the a glass or ceramic pie dish from cracking due to a drastic temperature change.
How to Blind Bake a Pie Crust
Oftentimes you will see a recipe that calls for a fully baked pie crust or a partially baked pie crust.
If your recipe calls for a pre-baked crust, you will need to do what is called a blind bake. If your recipe calls for a partially baked crust, as some pumpkin pie or some quiche recipes, you will want to do what is known as a partial blind bake.
- Prepare pie crust as directed.
- Refrigerate the pie crust in the pie pan for at least 1 hour before doing a blind bake.
- Remove the pie plate from the refrigerator and press parchment paper into the pie shell, folding over the edges so that the entire crust is covered, as best as possible. Fill to the top of the foil with pie weights or dried beans.
- Let pie rest at room temperature for 5-10 minutes to take the chill off. While we want the pie crust to be cold, it is important to not put cold glass or ceramic dish directly into the oven as the drastic temperature change can cause the pan to break.

- Place the pie crust into the oven and bake for 15-18 minutes, or until the crust begins to lightly brown.
- Take the pie plate out of the oven and carefully remove the parchment paper and pie weights by lifting up the corners of the parchment paper.
- Prick the bottom of the pie crust several times with a fork. This is known as docking the crust.
- Return to the oven, and bake for 8 more minutes for a partially baked crust OR for 15-18 more minutes for a fully baked crust. If you notice your edges are browning too quickly, use a pie crust shield or cover with foil.

No Food Processor?
While I find making pie crust and biscuits much easier in the food processor, you can certainly make homemade pastries without a food processor.
- In a large mixing bowl, whisk to combine the flour, sugar, baking powder, and salt.
- Add the cold butter and toss to coat the butter with flour.
- Use a fork or pastry cutter to cut butter into the flour mixture until all the flour is coated and crumbly.
- Pour 2 tablespoons of the ice water into the mixture and stir gently with a rubber spatula. Add additional water, 1 tablespoon at a time, stirring after each, until the dough comes together. Do not add too much water and do not overmix the dough.
- Turn dough out onto a floured workspace and form into a ball.
- Divide dough in half and flatten into two 1-inch thick disks.
- Tightly wrap both disks in plastic wrap and refrigerate as directed.
Make-Ahead Instructions
Homemade Pie Crust Dough can be made up to 5 days in advance and stored in the refrigerator. Alternatively, you can also opt to freeze the pie crust dough for up to 3 months.
To freeze the pie crust dough, wrap in several layers of plastic wrap and then place into a large freezer-safe storage bag. The pie dough will keep in the freezer for up to 3 months. To use the frozen dough, thaw completely in the refrigerator. This will take anywhere from 24-36 hours. And be sure after forming the pie crust using the thawed dough, that you chill again before baking.
FAQs about Homemade Pie Crust
I find that by using grated butter, it takes less time to work the butter through the flour and this, in turn, keeps the crust more tender.
I recommend either a 9-inch glass or ceramic pie dish.
The best thing you can do to prevent a crumbly crust is to not overprocess the dough. Pulse the dough together until the ingredients are just fully combined. And you MUST fully rest the dough. We want that butter COLD when it hits the oven for tender results.
It is important to use enough water to fully bring your dough together. Conditions in your kitchen will dictate how much water you need to use. Start with
If you notice your edges are browning too quickly, remove the pie from the oven and use a pie crust shield or carefully cover the edges of the pie crust with foil.
This recipe makes the equivalent of 2 9-inch pie crusts. If your recipe needs a top and bottom pie crust, you will use both. If not, you can store one of the wrapped pie dough disks in the refrigerator for up to 5 days or freeze for up to 3 months.
No! It really is not as hard as it looks to flute the edges of a pie crust, but you can skip this step if you are in a hurry or it overwhelms you. Simply make sure your crust is even and thick around the edges and proceed with the recipe.
While it is important to use something to weigh down the pie crust to prevent it from bubbling up, you can certainly just use dried beans instead of pie weights. Just make sure you label your dried beans and don't try later cook with them--they will NEVER soften!
Recipes Using Pie Crust
If you enjoyed this recipe for Homemade Pie Crust, I would love for you to leave a review below. And I would love to know what delicious pie you made using it!
All Butter Pie Crust
Ingredients
- 1 cup unsalted butter (2 sticks of butter)
- 2 ½ cups all-purpose flour
- 1 teaspoon salt
- 6-10 tablespoons ice water
Instructions
- Place food processor, plastic dough blade, flour, and pie dish in the refrigerator to chill thoroughly.
- Using a box grater, grate the sticks of butter. Place grated butter into the freezer for 15-20 minutes.
- Remove food processor from the refrigerator. Place the flour and salt in the food processor, fitted with a dough hook. Pulse once to mix.
- Add the frozen grated butter to the food processor and pulse until it resembles coarse crumbs, or the butter is distributed through the flour evenly.
- Drizzle the cold water in, 2 tablespoons at a time, and pulse the food processor once after each addition. Stop adding water when the dough comes together easily and begins to form large clumps. The dough will feel moist and a little sticky, but not feel overly wet. For me, I typically need 8 tablespoons of water to reach the perfect consistency.
- Using floured hands, turn the dough out onto a floured workspace. Press the dough together until evenly combined and form it into a disk. Cut in half and then flatten each disk to about 1- inch thickness.
- Wrap each disc tightly in plastic wrap and refrigerate for at least 2 hours and up to 5 days before using.
- Remove the dough from the refrigerator a couple of minutes ahead before rolling out the crust so that it is easier to work with.
- Lightly flour your work surface and rolling pin. Roll out the disk of dough from the center moving outward in all directions until dough is even and the diameter of the circle is about 12 inches--a couple of inches larger than your pie pan.
- Let the dough rest for a couple of minutes and then very carefully transfer the pie crust to the pie pan. Gently press the dough onto the sides of the pie plate and then fold under the overhanging crust so that the edge is thick and even.
- To flute the edges of the pie crust, use your knuckle from one finger to indent the pie crust and then two fingers from your other hand to pinch the crust, and form the fluted edge.
- Place the pie crust into the refrigerator for 1 hour before using it for your pie recipe. But plant to remove from the refrigerator 5 to 10 minutes before baking to take the chill off. This will prevent your pie dish from breaking due to too drastic of a temperature change.
To Pre-Bake/Blind Bake Pie Crust
- Position an oven rack in the lower-middle portion of your oven and preheat to 375 degrees Fahrenheit.
- Remove the pie plate from the refrigerator and press parchment paper into the pie shell, folding over the edges so that the entire crust is covered, as best as possible. Fill to the top of the foil with pie weights or dried beans.
- Place the pie crust into the oven and bake for 15-18 minutes, or until the crust begins to lightly brown..
- Take the pie plate out of the oven and carefully remove the parchment paper and pie weights by lifting up the corners of the parchment paper.
- Dock the bottom of the pie crust by pricking the bottom of the empty crust with a fork several times.
- Return to the oven, and bake for 8 more minutes for a partially baked crust OR for 15-18 more minutes for a fully baked crust. If you notice your edges are browning too quickly, use a pie crust shield or cover with foil.
- Chill the crust completely if using for a no-bake pie.
- Before baking your pie crust, let the pie pan sit at room temperature for 5-10 minutes (no longer) to take the chill off. This will help prevent a glass or ceramic pie dish from cracking due to a drastic temperature change.
E Ford
Can you use this crust for an apple pie (crust cooks at same time as apples)?
Kristen Chidsey
Hi E! I use this pie crust for my recipe for Dutch Apple Pie. It works quite well and there is no need to pre-bake the crust, just be sure to thoroughly chill after shaping the crust before adding the apple pie filling.
Nancy Beardmore
I’m very confused over the recipe for all butter pie crust I print out the recipe and first it gives instructions for the food processor I read on through the instructions and I get to the last part that states to make without a food processor it says in a large bowl whisk to combine the flour sugar baking powder and salt but your recipe on page 1 does not call for the sugar baking powder and your recipe only calls for a cup of unsalted butter 2 1/2 cups of flour and a teaspoon of salt and 6-10 Tablespoons of us water. Printed instructions are not clear
Kristen Chidsey
Hi Nancy! All fixed. Thanks for catching that. It should read: For mixing without a food processor: In a large mixing bowl, whisk together the flour and salt.
Beth
I love making anything homemade! So excited to use this recipe when I make a pie now! So good!
Kristen Chidsey
It really does make pies so much better. Glad to hear you enjoy!
Betsy
Easier than I thought it would be! Perfect directions and perfect crust. It really does make a difference to chill EVERYTHING! Perfect crust for my favorite peach cream & crumb pie!
Kristen Chidsey
I am so glad this was easier than you expected. Enjoy that peach pie--YUM!
Jen
I've always been too intimidated to make my own but this recipe was so easy to follow. Thanks for adding all of the tips too. I would've never thought to put the mixing bowl and paddle in the fridge too. Genius!
Kristen Chidsey
So happy to hear these tips helped you master pie crust!
Phyllis
While I totally agree with chilling, one must be aware of chilling glass pie pans and putting into a hot oven. I've had glass pie pans not only crack, but break entirely due to extreme temperature change.
Kristen Chidsey
That is a great point Phyllis. I added that note to take out of the fridge for 5-10 minutes to take the chill off.
Betty Anne Whitney
Can I use the same process using gluten free flour?
Are there any changes other than the flour?
Thanks
Kristen Chidsey
Hi Betty Anne! I have made this with Bob's Mill 1:1 Gluten-Free Flour Blend with success. You should be able to use any 1:1 blend as long as it contains xanthan gum.